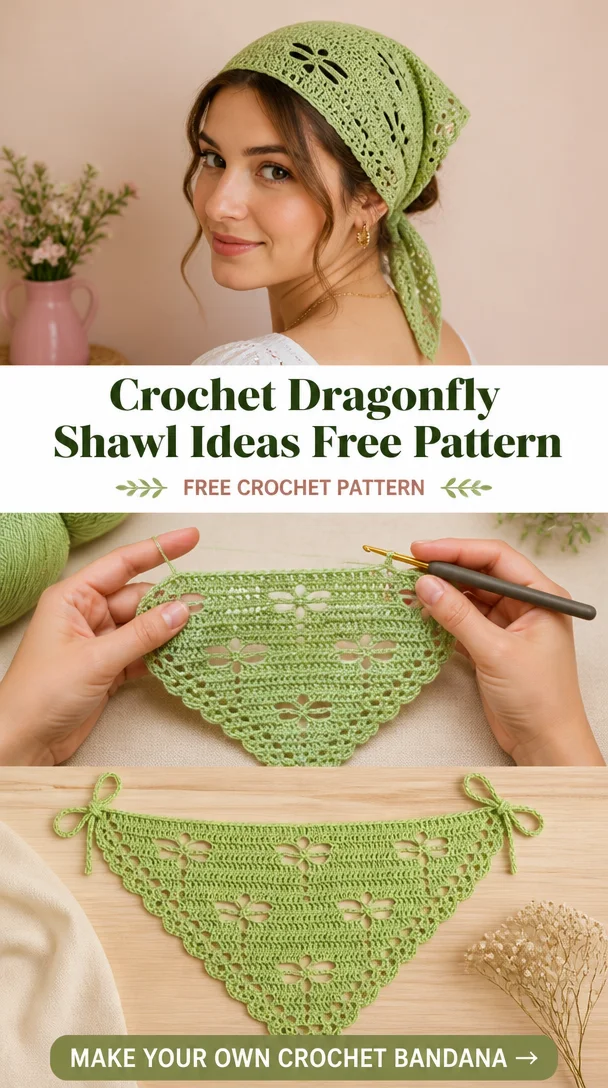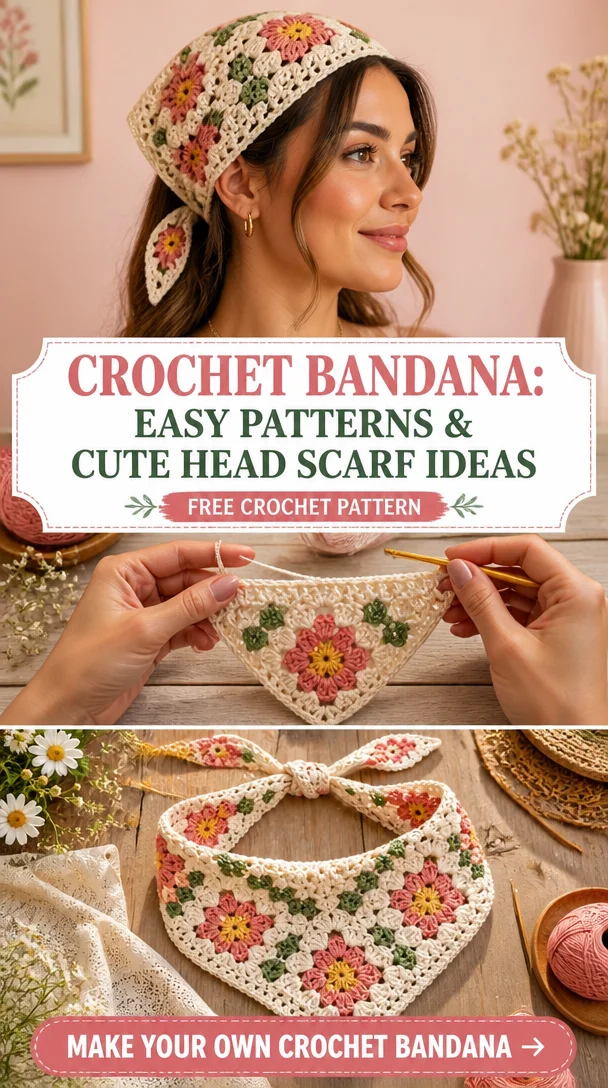
Crochet Bandana: Easy Patterns & Cute Head Scarf Ideas
Crochet bandanas are the perfect blend of fashion and functionality, offering a stylish way to tie back your hair while making a bold fashion statement. Their unique triangular design is not only attractive but also versatile—whether you wear it as a classic headscarf or a trendy summer accessory, a crochet bandana adds charm to any outfit. Perfect for all skill levels, this project allows both beginners and experienced crocheters to express their creativity through various colors and patterns. In this article, we’ll explore an easy crochet bandana pattern that you can customize and enjoy, making it a fabulous addition to your wardrobe or a delightful gift for others.
Crochet Bandana Pattern Overview
- Skill Level: Beginner
- Finished Dimensions: Adjustable (suitable for various head sizes)
- Crochet Hook Size: H (5.0 mm)
- Yarn Type: Cotton or acrylic
- Yarn Weight: Worsted weight (4)
- Main Colors: Choose any colors you prefer
- Stitch Pattern: Double crochet and chain stitches
- Construction Method: Triangular bandana shape
- Approximate Completion Time: 2-4 hours
- Granny Square Technique: Not applicable for this pattern
Materials You’ll Need
- Yarn (worsted weight, cotton or acrylic)
- H (5.0 mm) crochet hook
- Yarn needle for weaving in ends
- Stitch markers (optional)
- Scissors
- Measuring tape
Crochet Abbreviations
- ch = chain
- dc = double crochet
- sl st = slip stitch
- st = stitch
- sp = space
- rep = repeat
Before You Start
Prior to beginning your crochet bandana, it’s important to understand the stitch repeat and maintain even tension throughout the project to ensure a symmetrical finish. Check your gauge if you are aiming for specific dimensions. Familiarize yourself with increasing rows for the triangular shape and determine the right and wrong sides of your work.
Free Crochet Bandana Pattern
This main section includes detailed instructions on how to crochet the bandana.
Starting Chain or Foundation
Chain 40 (or a suitable number for the desired width).
First Row
Row 1: In the 4th ch from hook, work 1 dc, then continue to dc in each chain across (total 38 dc).
Building the Triangle
Row 2: Ch 3 (counts as first dc), turn. In the first st, work 2 dc, then dc in each st across, adding an extra dc in the last st (total 40 dc).
Increasing Rows
Row 3: Ch 3, turn. Work 2 dc in the first st, then dc in each st across, adding an extra dc in the last st (total 42 dc).
Repeat increasing rows until you reach your desired size.
Finishing the Bandana
To finish, fasten off and weave in any loose ends.
Bandana Construction and Assembly
To assemble your bandana, work the triangular shape through the increasing rows. For a neat finish, make sure that your stitches are consistent. If you’d like to add ties, crochet two long chains and attach them to the corners of the bandana.
Crochet Bandana Edging and Finishing Details
For a decorative touch, consider adding a simple scalloped edging. To do this, sc around the edges and add picots as desired. Make sure to block the finished piece to maintain its shape.
How to Wear and Style Your Crochet Bandana
Embrace the versatility of your crochet bandana:
- Classic Headscarf: Fold it into a triangle and tie it at the back for a timeless look.
- Summer Hair Accessory: Style it as a cute top knot or bun cover for a fun summer vibe.
- Boho-Inspired Outfit: Pair the bandana with a flowy dress for a bohemian flair.
- Casual Everyday Accessory: Great for adding a pop of color to any casual outfit.
Tips for a Better Result
- Maintain a consistent tension to avoid uneven areas.
- Double-check stitch counts when increasing.
- Block your finished bandana to highlight the stitching and design.
Crochet Bandana Customization Ideas
- Experiment with different yarn colors and combinations.
- Consider adding contrasting border colors for extra flair.
- Adjust the length of the ties for a personal fit.
Common Problems and Troubleshooting
- Uneven triangle shape: Ensure you are following the increasing rows accurately.
- Slip stitches appearing loose: Check for consistent tension throughout.
- Granny squares not aligning (if applicable): Make sure to count stitches carefully while joining.
Care and Maintenance
To keep your handmade crochet bandana looking its best, follow the yarn manufacturer’s care instructions for washing. Always lay flat to dry to maintain its shape, and consider blocking occasionally to keep stitches looking fresh.
Frequently Asked Questions
- Is this crochet bandana pattern beginner-friendly? Yes, this pattern is perfect for beginners.
- What yarn is best for a crochet bandana? Cotton or acrylic yarns work well for this type of accessory.
- How long does it take to crochet a bandana? About 2-4 hours, depending on your skill level.
- Can I make this crochet bandana larger or smaller? Yes, simply adjust the starting chain and increasing rows.
- How do I keep the triangular shape even? Focus on consistent tension and stitch count throughout.
Conclusion
Creating your own crochet bandana is a delightful way to express your creativity and add a unique piece to your wardrobe. With its stylish design and versatility, this crochet bandana is a project worth trying!
SEO Title: Easy Crochet Bandana Patterns & Styling Ideas
Meta Description: Explore easy crochet bandana patterns and styling ideas for your next handmade hair accessory. Perfect for all skill levels!
URL Slug: crochet-bandana-patterns
Primary Keyword: crochet bandana
Secondary Keywords: free crochet bandana pattern, easy crochet bandana, crochet headscarf pattern, summer crochet bandana
Image 1 Alt Text: Handmade crochet bandana styled on a model
Image 2 Alt Text: Close-up of crochet stitch patterns on a bandana