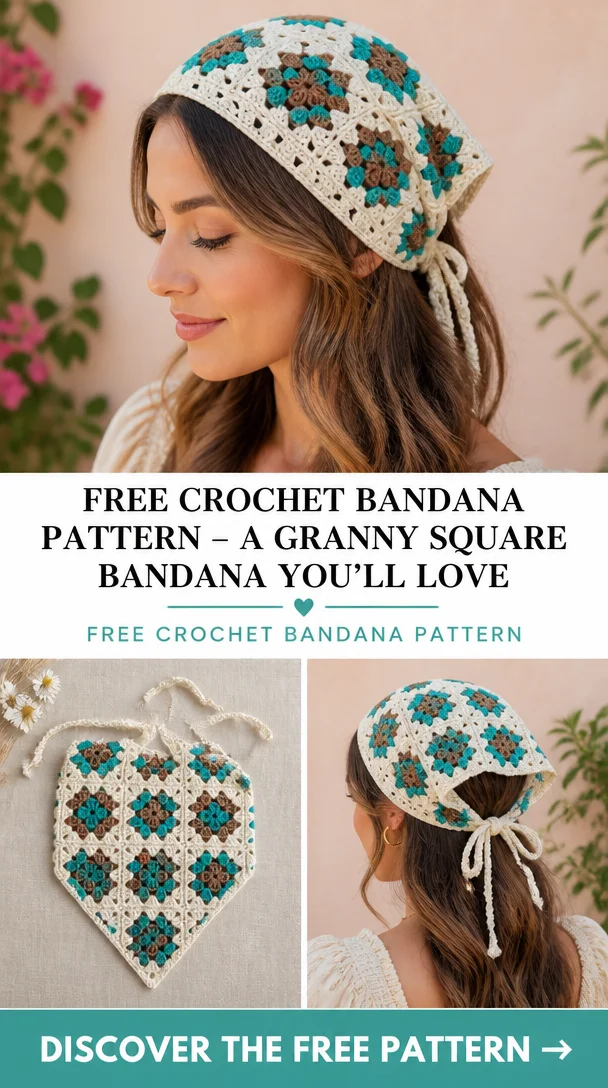
Crochet Bandana from Granny Squares: Free Pattern
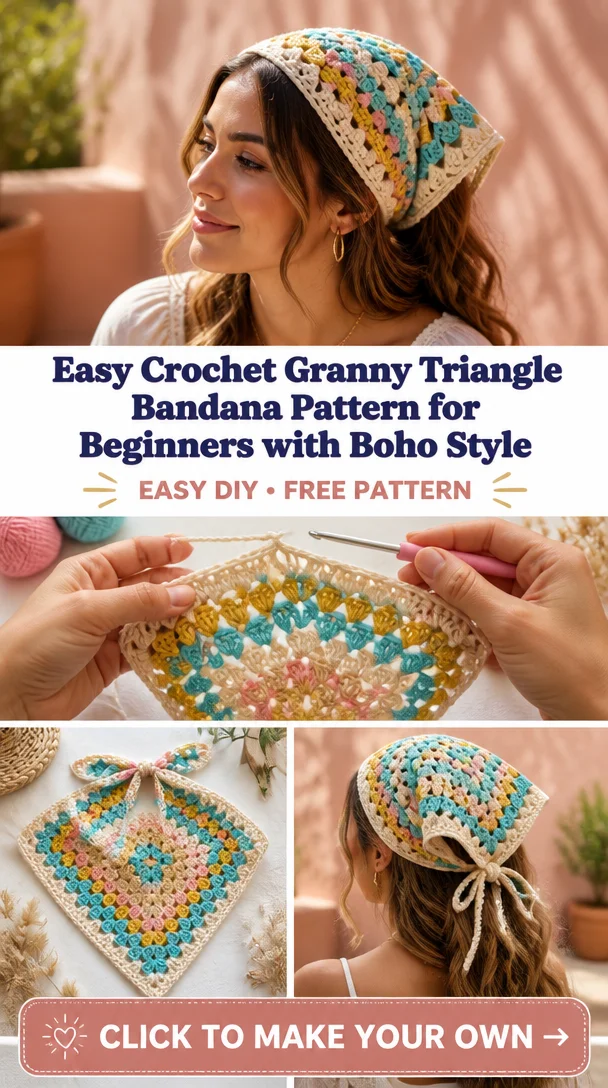
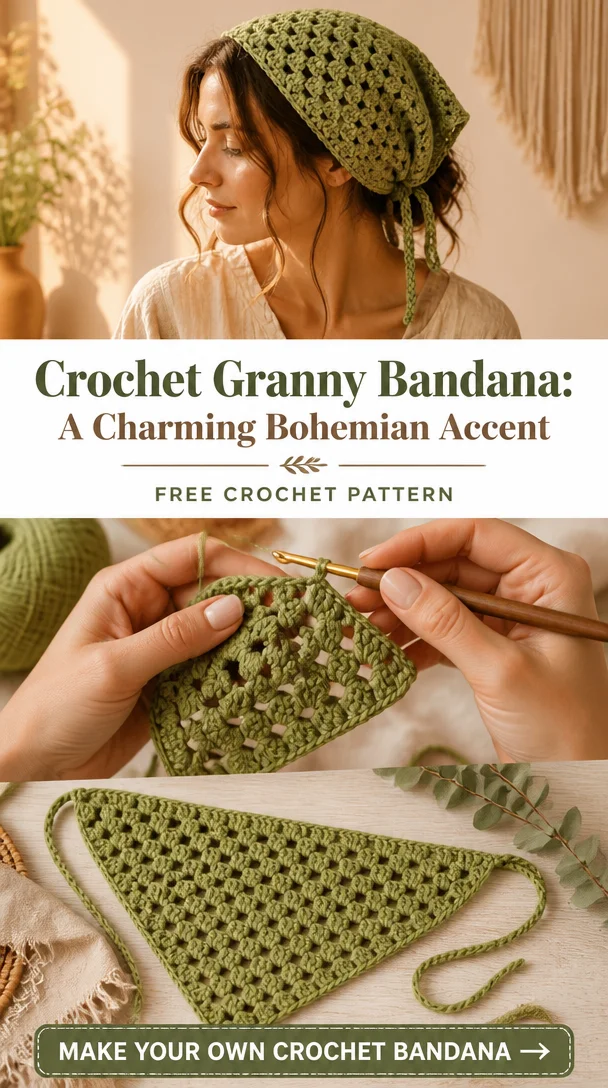
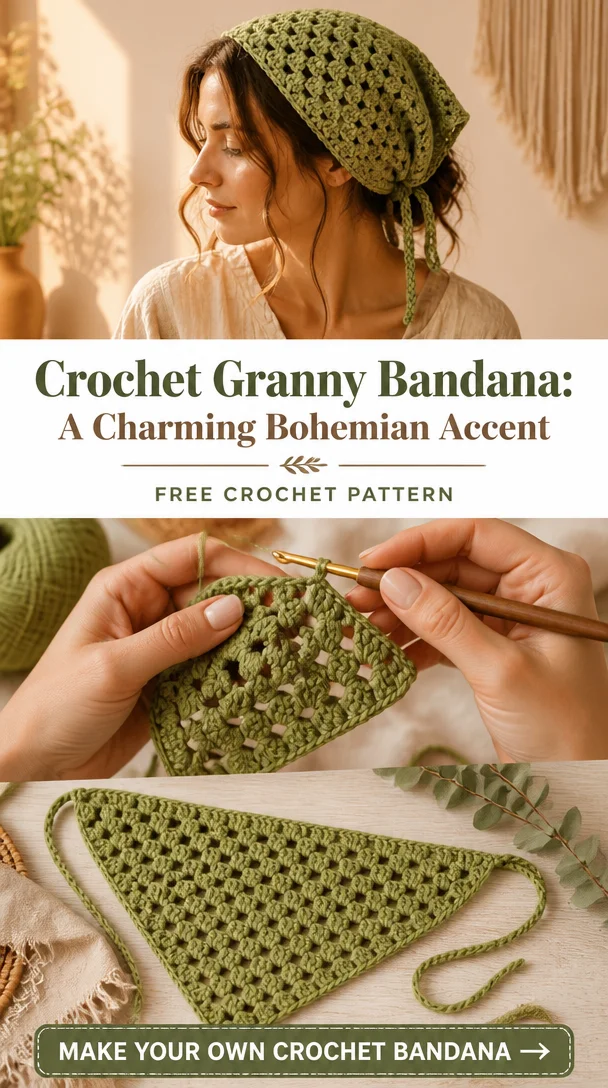
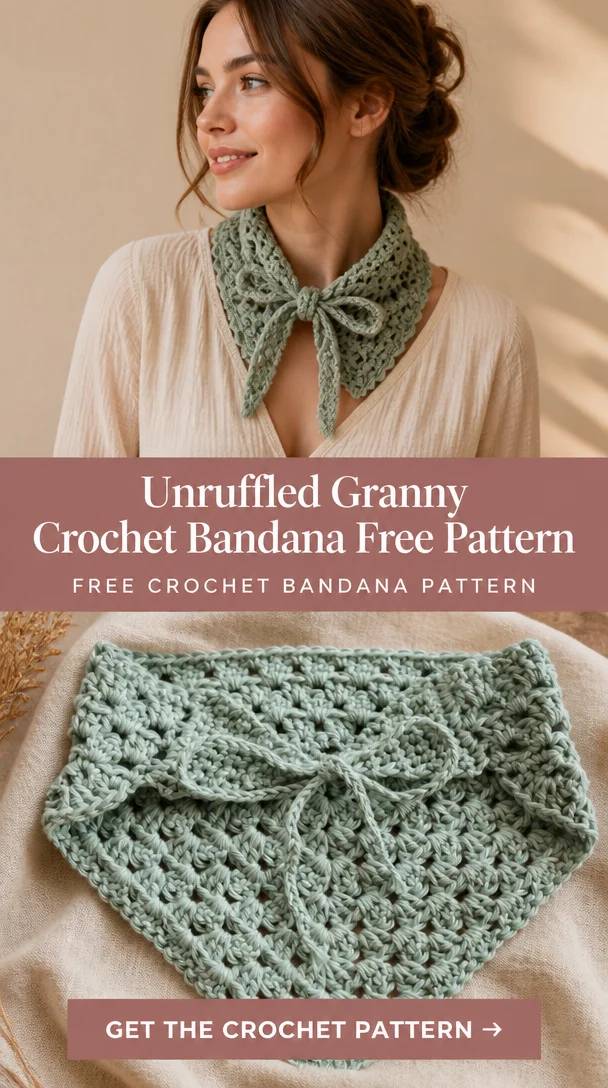
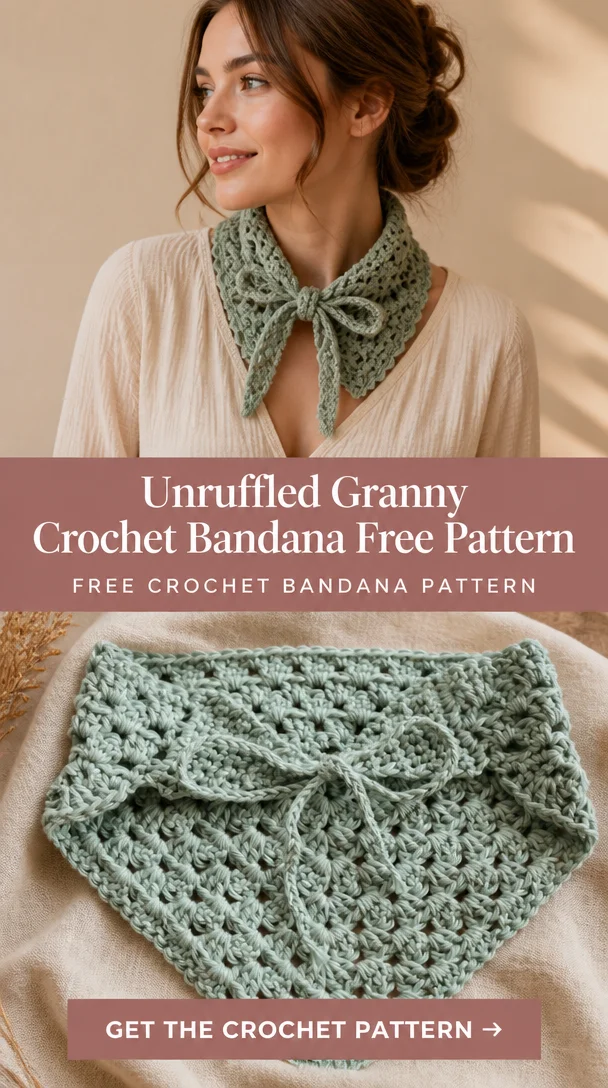
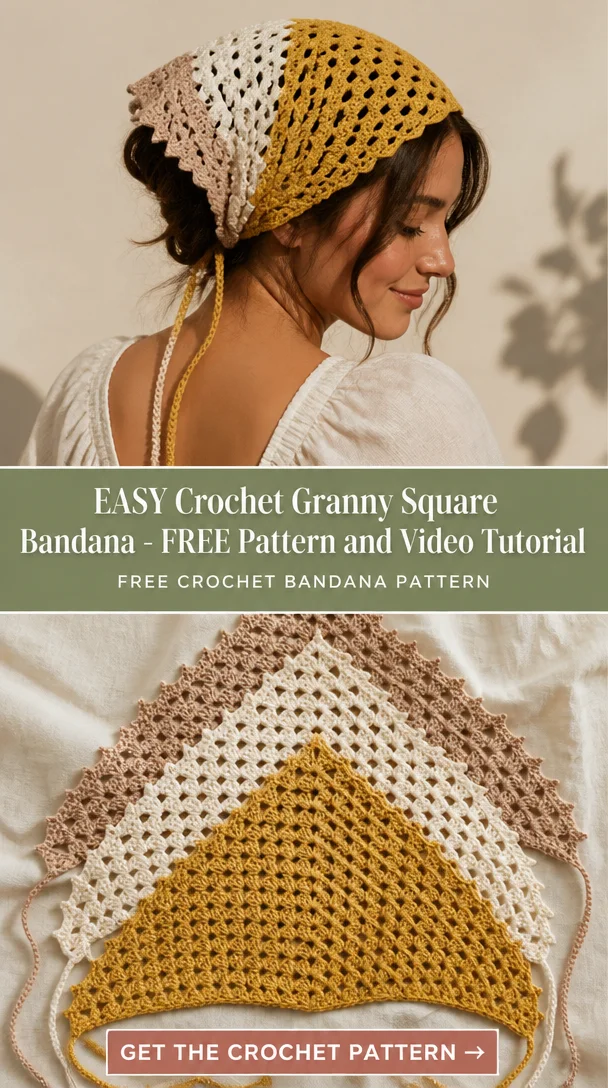
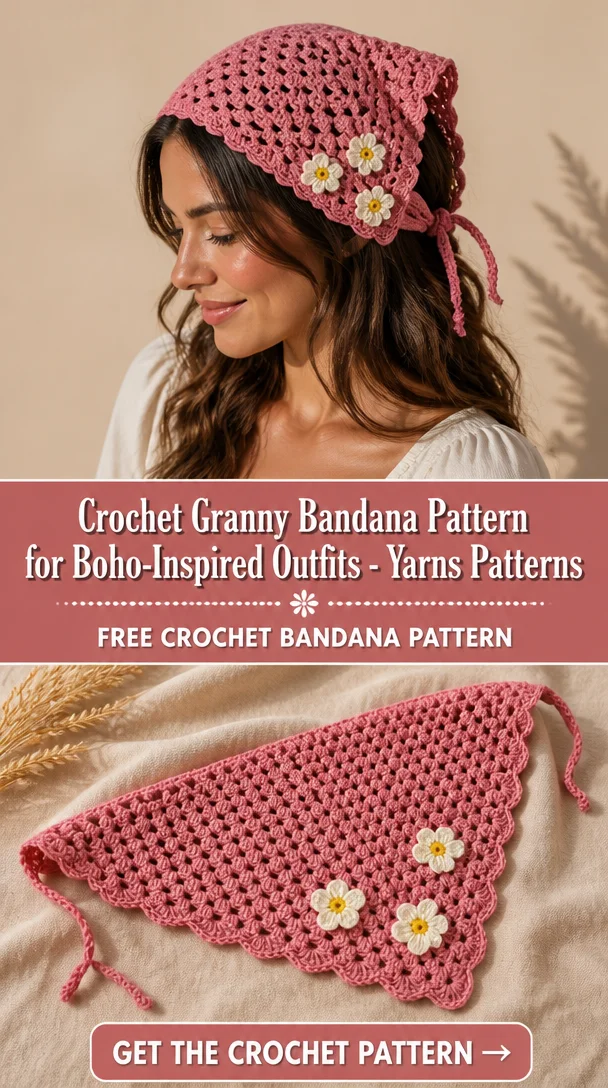
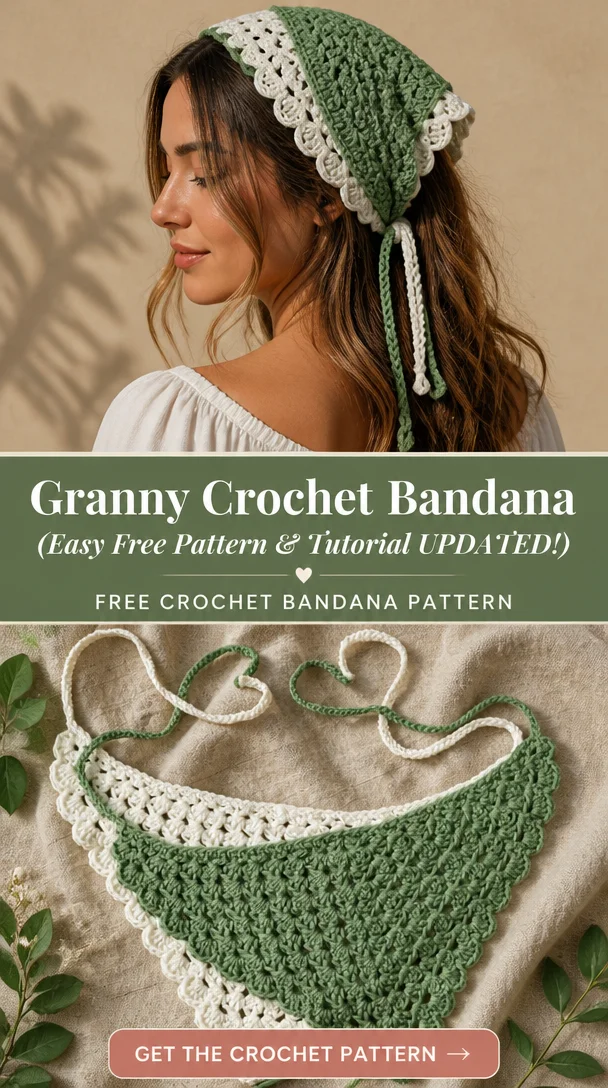
A fun triangle Granny Square Bandana makes the perfect accessory for that trendy Summer vibe! This pretty crochet bandana not only keeps your hair neat and tidy, but it also elevates any outfit with a splash of color and style. Imagine yourself at a festival, soaking up the sun at the beach, or enjoying a sunny afternoon in the garden, all while wearing this lovely handmade piece. Perfect for both novice and experienced crocheters, this pattern allows you to express your creativity and showcase your handiwork as a delightful summer hair accessory. Get ready to learn how to crochet your very own chic bandana that perfectly complements your summer wardrobe!
Crochet Bandana Pattern Overview
- Skill Level: Intermediate
- Finished Dimensions: Varies based on yarn and tension
- Crochet Hook Size: 5.5 mm (I/9)
- Yarn Type: Cotton or acrylic blend
- Yarn Weight: Worsted weight
- Colors: Main color and contrasting color for granny squares
- Stitch Pattern: Granny square and triangle formation
- Construction Method: Granny squares joined into a triangle bandana
- Approximate Completion Time: 3-5 hours
- Techniques Used: Granny squares, increases for the triangle shape, and decorative ties.
Materials You’ll Need
- Worsted weight yarn in main and contrasting colors
- 5.5 mm (I/9) crochet hook
- Yarn needle for weaving in ends
- Stitch markers (optional)
- Scissors
- Measuring tape
Crochet Abbreviations
- ch = chain
- sc = single crochet
- hdc = half double crochet
- dc = double crochet
- sl st = slip stitch
- st = stitch
- sp = space
- rep = repeat
Before You Start
Before diving into the crochet bandana, ensure you understand the basic construction of granny squares and how to maintain even tension throughout your work. As you create your triangles, keep an eye on the increases to maintain the shape. It’s also a good idea to check your yarn tension to ensure that your squares align properly when joined. Familiarize yourself with the stitch repeat and read through your pattern thoroughly before starting.
Free Crochet Bandana Pattern
Starting Chain or Foundation
Begin by chaining 5 and joining into a circle with a slip stitch.
First Row
- Inside the circle, work 3 ch (counts as the first dc), then make 2 dc.
- Chain 2, then make 3 dc into the circle.
- Repeat: chain 2, 3 dc in the circle two more times for a total of 4 clusters.
Building the Triangle
- Join with a sl st to the top of the beginning chain.
- To form the triangle, ch 3 and turn (counts as a dc).
- Work in the next row as follows: 2 dc, ch 2, then continue with the necessary increases at each edge.
Increasing Rows
Continue increasing at the sides of your triangle until the desired width is achieved, ensuring the shape remains even.
Granny Square Motifs
Crochet a series of granny squares using the following technique:
- Chain 4, join into a circle, and work your 3 dc clusters with chain spaces.
Joining Granny Squares
Once you reach the desired number of granny squares:
- Use a whip stitch or slip stitch to join them to form the bandana.
Decorative Border
- After joining the squares, create a border by working sc evenly around the entire bandana.
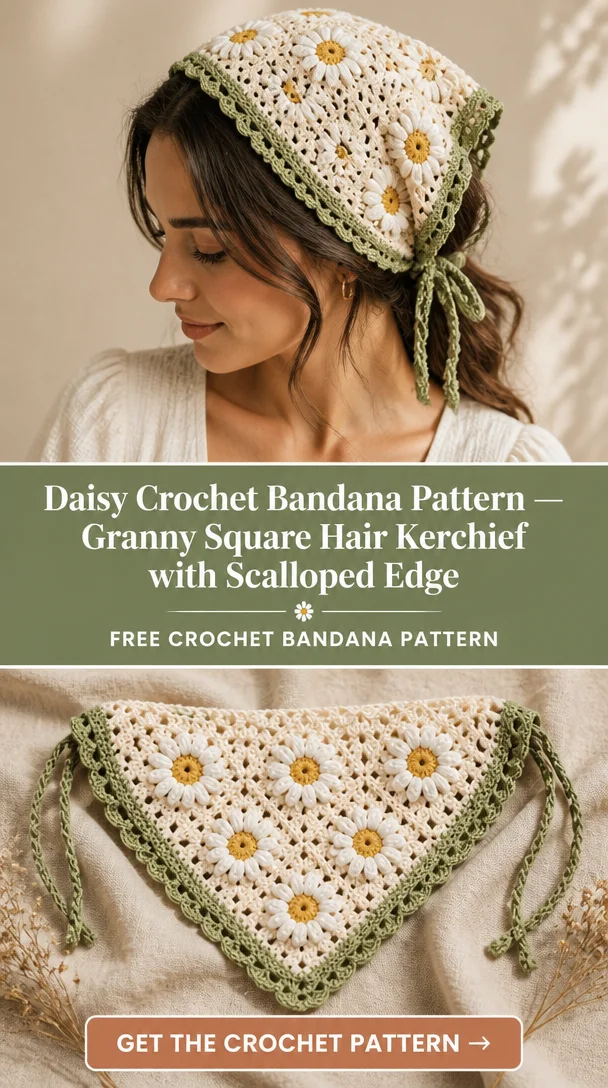
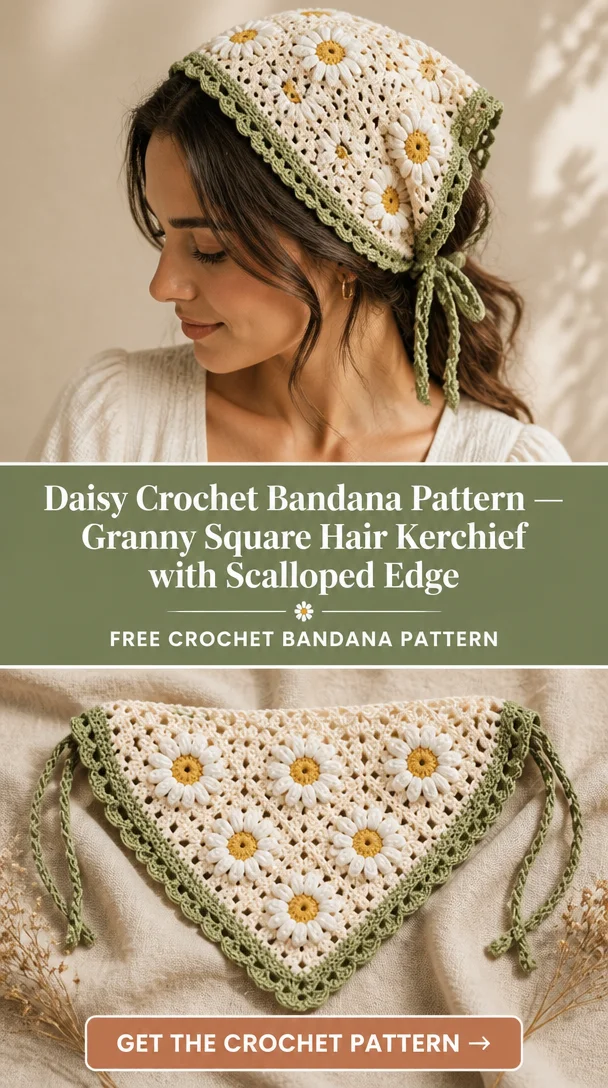
- For a decorative touch, add a picot edging or scalloped border.
Crochet Ties
To create ties, simply chain the desired length and fasten off. Attach to the ends of the bandana.
Finishing the Bandana
Weave in all ends and give your bandana a gentle block to shape.
Bandana Construction and Assembly
To assemble the bandana, ensure that each granny square is joined securely and lines up smoothly. After forming the triangle with the joined squares, attach the crocheted ties, which allow for versatile styling options. Be sure to block the final piece to maintain its shape and alignment.
Crochet Bandana Edging and Finishing Details
For the edges of your bandana, consider a decorative border that enhances the overall appearance. Adding a scalloped or picot edge creates a charming finish. Remember to weave in any loose ends properly to avoid unraveling.
How to Wear and Style Your Crochet Bandana
This crochet bandana is incredibly versatile! You can wear it as a classic headscarf, or style it as a bohemian accessory. Pair it with a sundress or casual outfit for the perfect touch. It also makes a beautiful gift for friends who love handmade fashion.
Tips for a Better Result
- Maintain consistent tension throughout your project.
- Check your stitch count regularly to avoid any discrepancies.
- Be mindful of your increasing rows for a symmetrical triangle.
- Practice neat color changes if using multiple colors.
Crochet Bandana Customization Ideas
You can personalize your bandana by experimenting with different yarn colors, and variations in the granny square design. Explore contrasting borders or make the ties longer for a unique touch. Adjusting the size for children or different head sizes is also doable with minor modifications in your pattern.
Common Problems and Troubleshooting
If you encounter issues such as uneven shapes or mismatched edge tension, consider checking your gauge or re-evaluating your stitch consistency. Ensure that your granny squares align properly and adjust your yarn tension if necessary.
Care and Maintenance
To maintain your handmade crochet bandana, always refer to the yarn manufacturer’s care instructions. Washing by hand and air drying is typically recommended to preserve delicate stitches and maintain the shape of the bandana.
Frequently Asked Questions
-
Is this crochet bandana pattern beginner-friendly?
While it is more suited for intermediate crocheters, beginners with basic granny square skills can certainly give it a try! -
What yarn is best for a crochet bandana?
Worsted weight cotton or acrylic blends work well for durability and comfort. -
How long does it take to crochet a bandana?
It usually takes between 3-5 hours, depending on your speed and experience. -
Can I make this crochet bandana larger or smaller?
Yes, adjustments can be made during the foundation chains and granny square sizes. -
How do I keep the triangular shape even?
Regularly check your stitch counts and maintain consistent tension throughout your project. -
Can I use different yarn colors?
Absolutely! Color combinations can be a great way to personalize your bandana. -
How do I make the crochet bandana ties?
Simply chain to your desired length and attach them securely to the ends of the bandana. -
Can I wear this bandana in summer?
Definitely! It’s the perfect summer hair accessory to keep you fashionable and cool.
Conclusion
Now that you have the pattern and guidance, it’s time to create your crochet bandana from granny squares! This design is not only fun to make, but it also adds a stylish flair to any outfit. Embrace your creativity and enjoy the satisfaction of wearing your handmade accessory all summer long.
SEO Title: Free Crochet Bandana Pattern from Granny Squares
Meta Description: Discover this stylish crochet bandana pattern using granny squares. Perfect for summer hair accessories, festivals, and casual outfits!
URL Slug: crochet-bandana-granny-squares-pattern
Primary Keyword: crochet bandana from granny squares
Secondary Keywords: free crochet bandana pattern, granny square bandana, summer crochet bandana, crochet hair scarf, crochet bandana tutorial
Image 1 Alt Text: Colorful crochet granny squares forming a stylish bandana
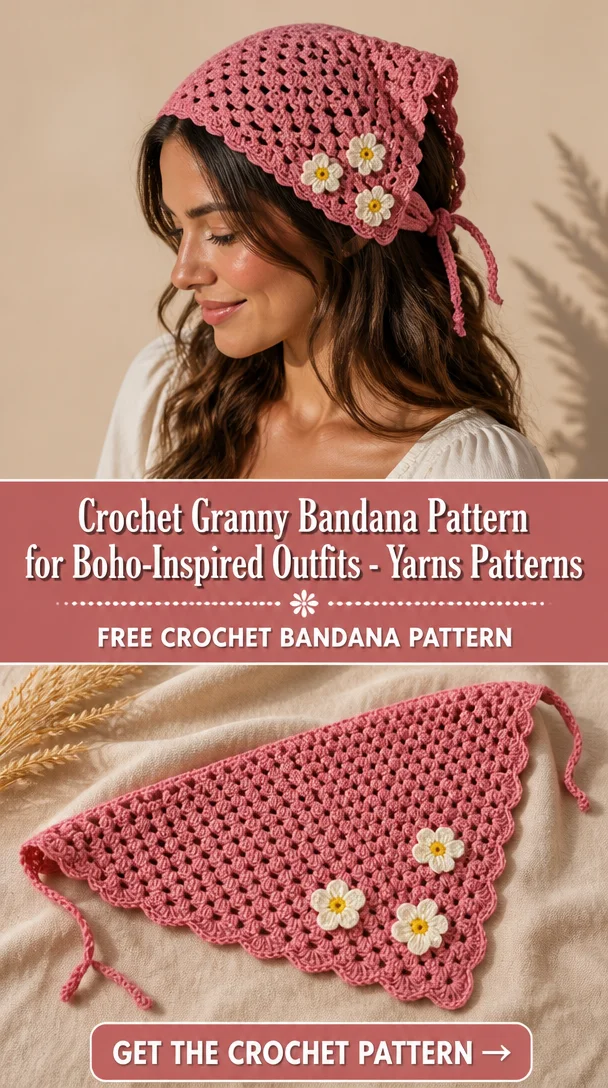
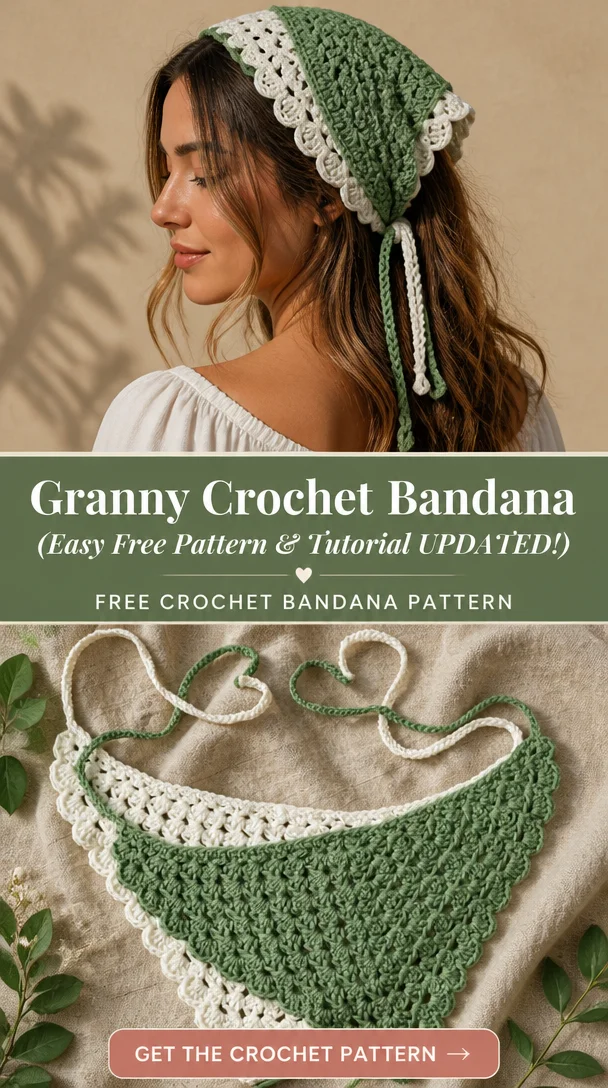
Image 2 Alt Text: Finished crochet bandana styled on a sunny day